MakerGram Logo

    MakerGram

    • Register
    • Login
    • Search
    • Categories
    • Recent
    • Popular
    • Tags
    • Users
    • Groups

    Error on Raspberry PI 4 while opening TensorFlow.

    General Discussion
    3
    15
    3630
    Loading More Posts
    • Oldest to Newest
    • Newest to Oldest
    • Most Votes
    Reply
    • Reply as topic
    Log in to reply
    This topic has been deleted. Only users with topic management privileges can see it.
    • S
      sreu13 last edited by salmanfaris

      Hi,
      I came by this error after installing TensorFlow in RPI 4
      can you guys find a fix?
      error on Raspberry PI 4

      tensorflow/core/platform/hadoop/hadoop_file_system.cc:132] HadoopFileSystem load error: libhdfs.so: cannot open shared object file: No such file or directory)
      

      1.JPG 3.JPG 2.JPG

      1 Reply Last reply Reply Quote 0
      • A
        arunksoman last edited by

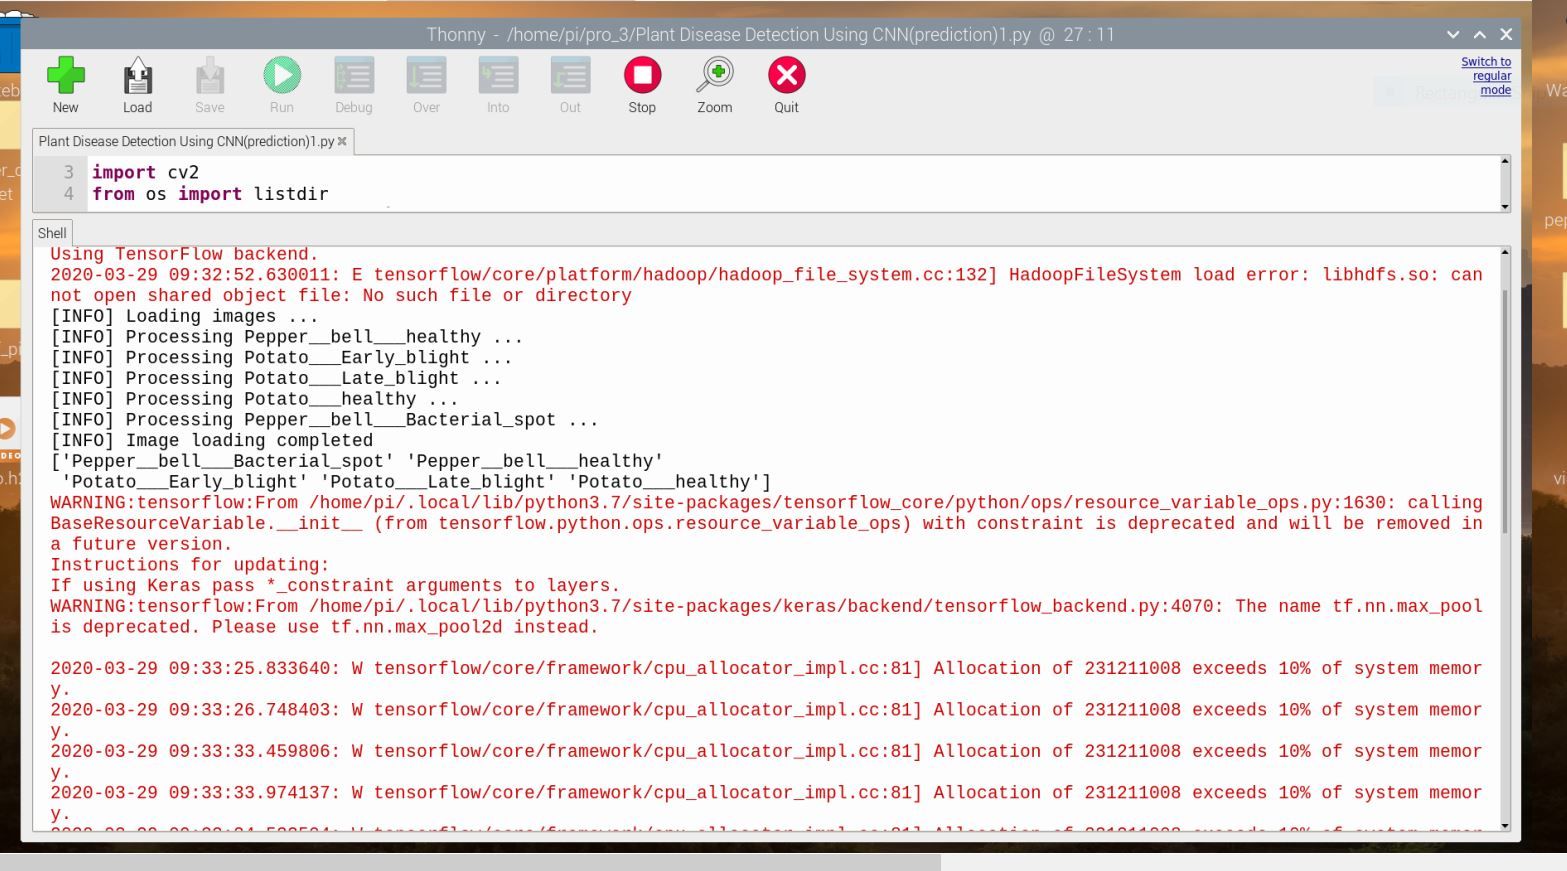
        Your are using a bleeding edge python software for tensorflow. I believes it is python 3.7 or python 3.8 or something. Try to downgrade your python to 3.6.5 or other compatible version by refereing documentation.

        S 1 Reply Last reply Reply Quote 0
        • S
          sreu13 @arunksoman last edited by

          @arunksoman hi, i've run this code using python 3.7 on anaconda and it worked fine.
          but as i run this on RPI 4, it showed the Hadoop error. I then updated the libraries and Hadoop error was solved..
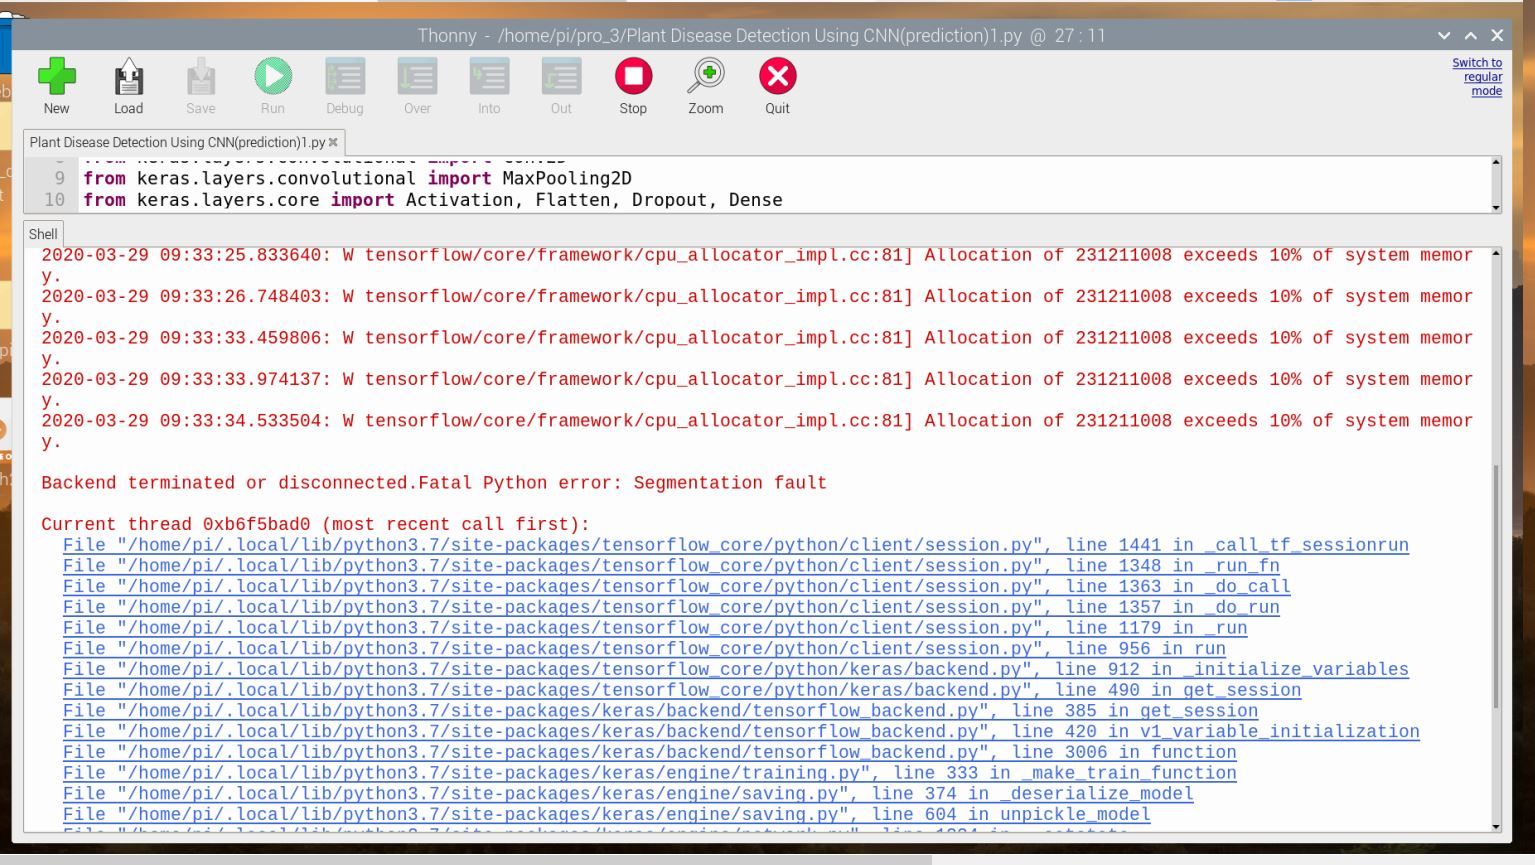
          now there is a new error
          2020-03-30 (1).png 2020-03-30 (2).png

          also can you take a look in the 10% memory error?...like what can be possibly done there??

          A 1 Reply Last reply Reply Quote 0
          • A
            arunksoman @sreu13 last edited by

            @sreu13 What is the version of tensorflow you are using? Did you read the tensorflow docs? You can't do simply
            pip install tensorflow
            for Python 3.7 version.

            S 2 Replies Last reply Reply Quote 0
            • S
              sreu13 @arunksoman last edited by

              @arunksoman i installed tensorflow from the below given link

              https://maker.pro/raspberry-pi/projects/how-to-set-up-the-machine-learning-software-tensorflow-on-raspberry-pi

              and i installed it without entering into virtual environment

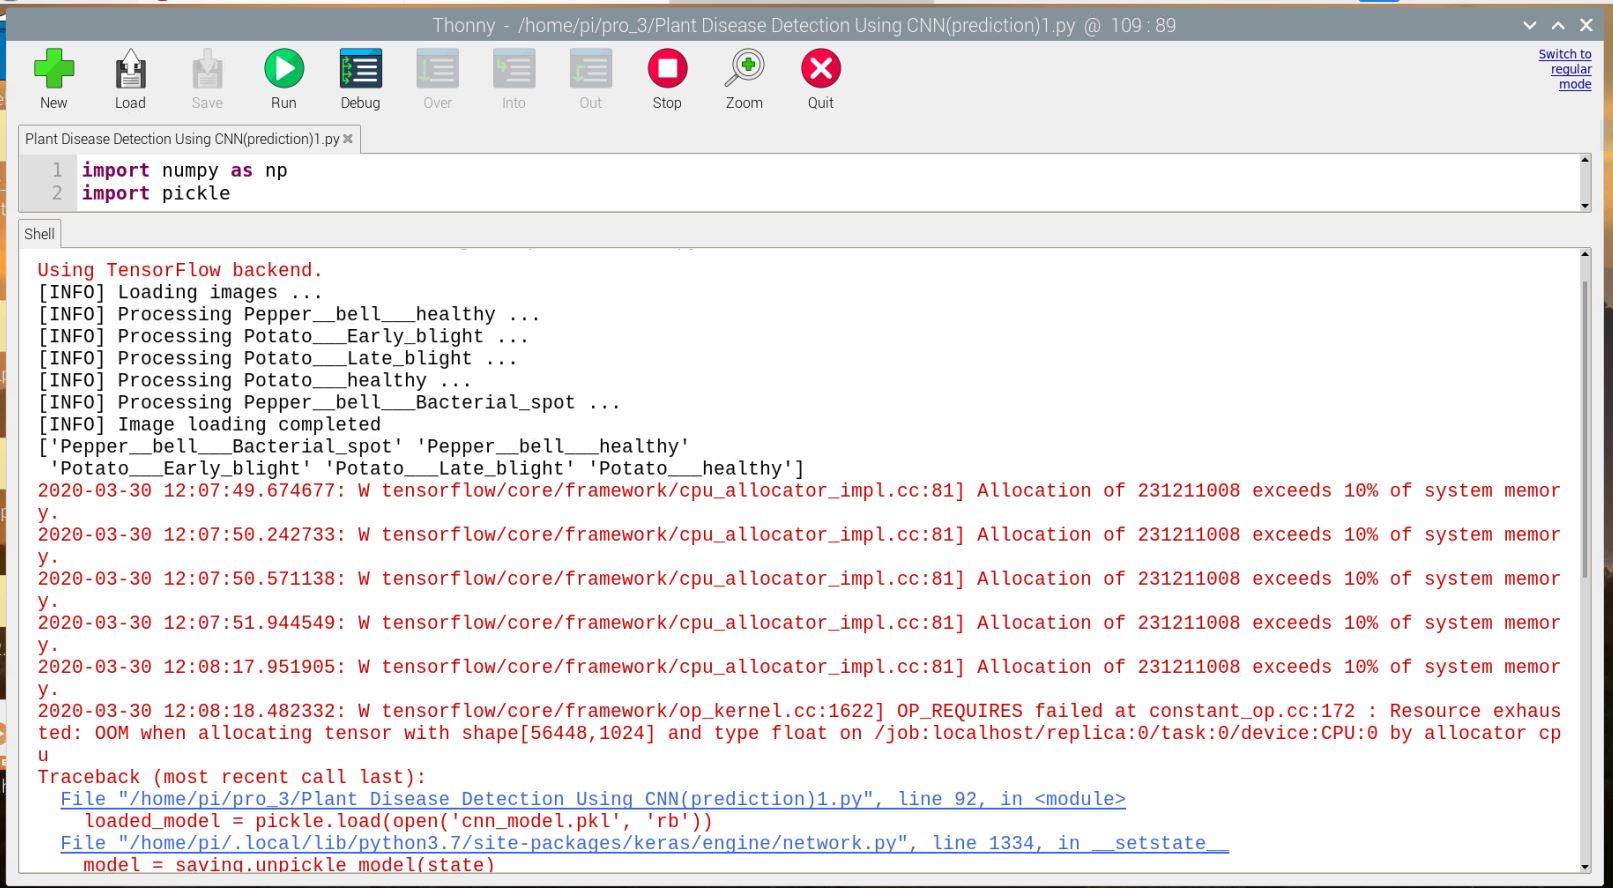
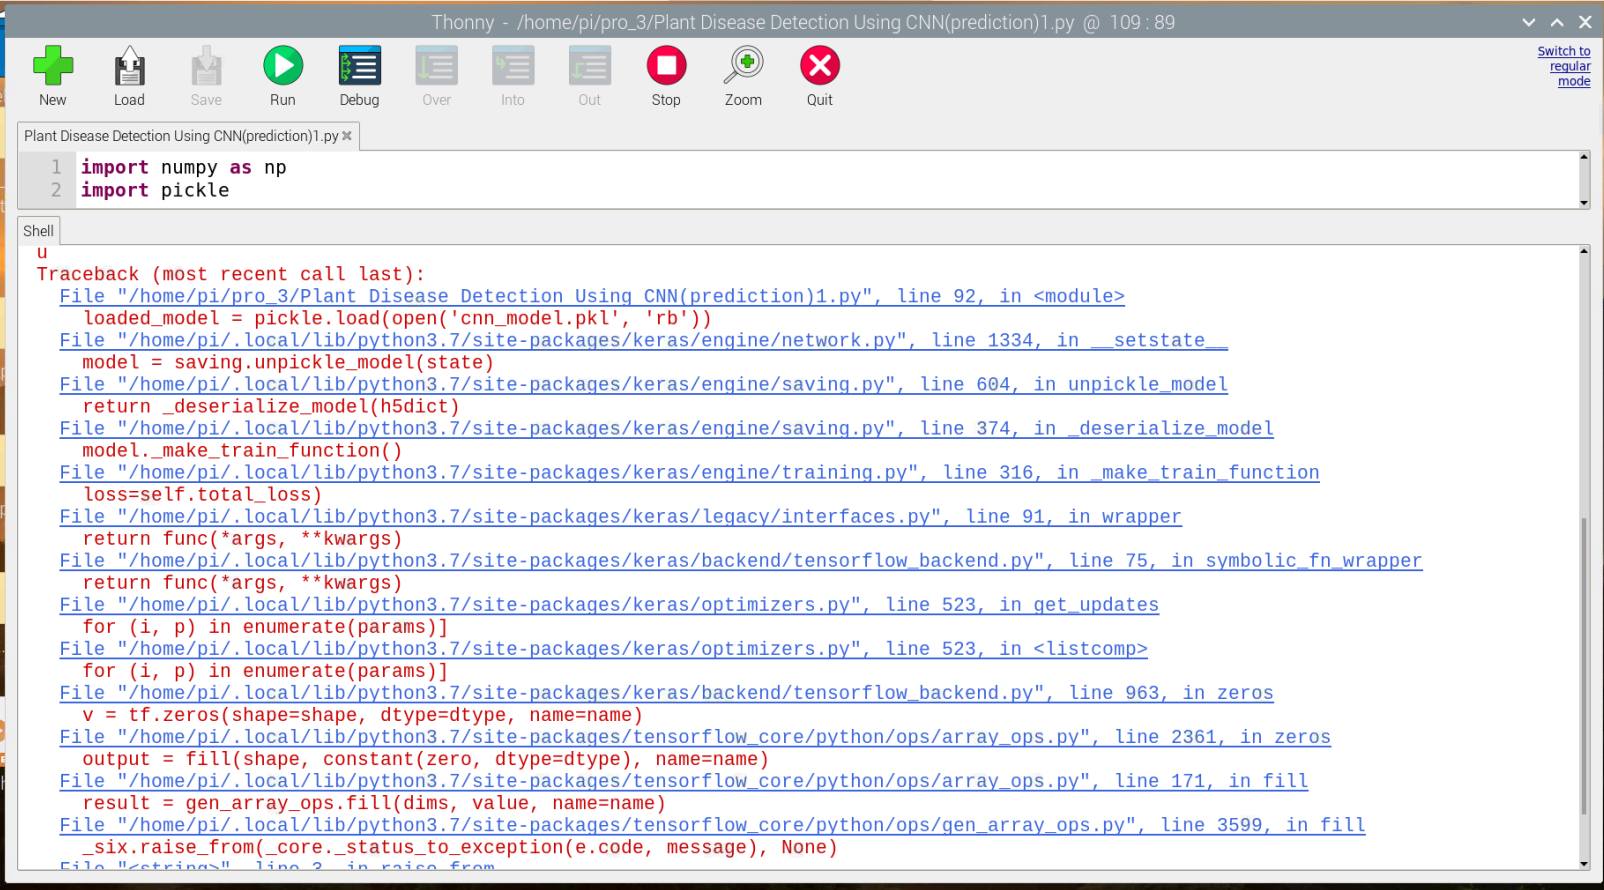
              but this 10% memory issue is a serious pain

              A 1 Reply Last reply Reply Quote 0
              • S
                sreu13 @arunksoman last edited by

                @arunksoman tensorflow 2.0.0 version had been installed

                1 Reply Last reply Reply Quote 0
                • A
                  arunksoman @sreu13 last edited by arunksoman

                  @sreu13
                  Ensure that you are installed tensorflow 1.x since screenshot of your code shows something like
                  from keras.layers.convolution import covolution2D
                  It is not correct in case for tensorflow 2.0 since keras api is part of tensorflow itself.

                  Another thing is try to expand your file system. It should be do with your own risk.

                  1. sudo raspi-config
                  2. Navigate to Advanced options
                  3. Select advanced options and hit enter(I believes tab key is useful here)
                  4. Choose Expand File System and hit enter finish.
                  5. Then your pi may prompt to reboot. If it didn't run. Execute
                    sudo reboot
                  6. Then execute following commands one by one:
                  $ sudo apt-get purge wolfram-engine
                  $ sudo apt-get purge libreoffice*
                  $ sudo apt-get clean
                  $ sudo apt-get autoremove
                  
                  1. Then increase swap memory by editing following file swapfile:
                    $ sudo nano /etc/dphys-swapfile
                  2. It will open nano editor. Navigate to variable
                  CONF_SWAPSIZE=100
                  

                  It indicates your current swap is only 100mb.
                  So you just have to increase by commenting down this line and increase to appropriate value something like shown below for 2GB swap:

                  #CONF_SWAPSIZE=100
                  CONF_SWAPSIZE=2048
                  
                  1. Save the file and exit nano editor.
                  2. sudo reboot

                  I believes if it did not helped you, you have to think about MOVIDIUS or NVIDIA Jetson nano etc.

                  S 1 Reply Last reply Reply Quote 0
                  • S
                    sreu13 @arunksoman last edited by

                    @arunksoman i'll try this method, but while executing swap command, will the rasbian os and the files it contains be effected??

                    A 1 Reply Last reply Reply Quote 0
                    • A
                      arunksoman @sreu13 last edited by

                      @sreu13 I edited comment please read that again. Most probably it will not effect your file system. In some scenarios it can create worse effect.

                      S 1 Reply Last reply Reply Quote 0
                      • S
                        sreu13 @arunksoman last edited by

                        @arunksoman hi,..
                        actually at this point of time, I'm not willing to risk RPI4,....i thought of connecting the rpi4 to google cloud (already have an account with $300 credit) and proceeding with the code.
                        but i do not know if the below process can be executed

                        1. sending image from rpi4 to cloud
                        2. using this cloud for running prediction
                        3. the above two processes should be automated and image should be sent to cloud when pi boots up(VM engine can be activated whenever nessesary)

                        is this possible?

                        A 1 Reply Last reply Reply Quote 0
                        • First post
                          Last post

                        Recent Posts

                        • R

                          I am trying to set up a janus webrtc to stream an RTSP to an HTML page.
                          I have followed the getting-started steps by Janus-gateway official github repo.

                          Since I am new to web development. I do not understand how to host the Webrtc server. can anyone guide me to set up an HTML page that can display a video stream from an RTSP server using janus webrtc?

                          • read more
                        • @zainmuhammed Can try capturing the GPS when the device is starting the loop instead after joining the LoRaWAN and see?

                          You can put the GPS value on top of the loop or setup function.

                          Also, what kind of gateway are you using? Is it configured okay, OTA is done?

                          • read more
                        • @salmanfaris Today I tried after connecting a 18650 cell,
                          WhatsApp Image 2024-04-12 at 10.40.06_c7d1947e.jpg WhatsApp Image 2024-04-12 at 10.40.05_897b8bb6.jpg
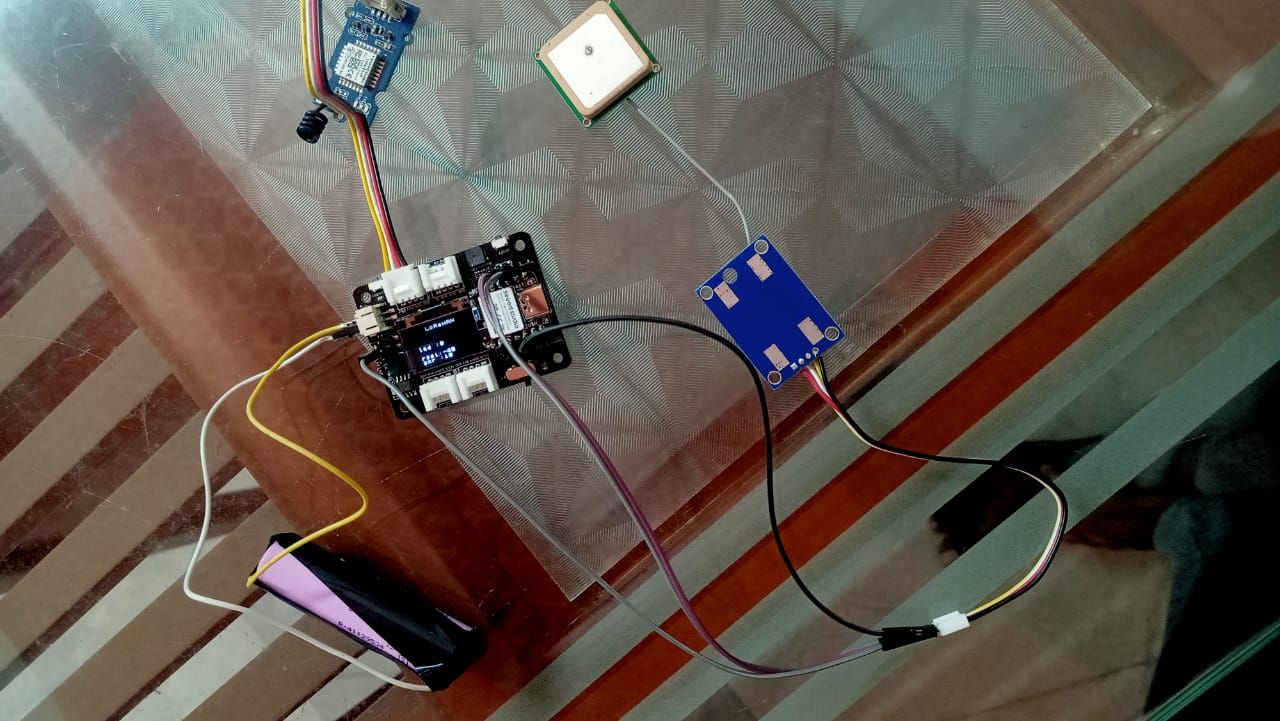
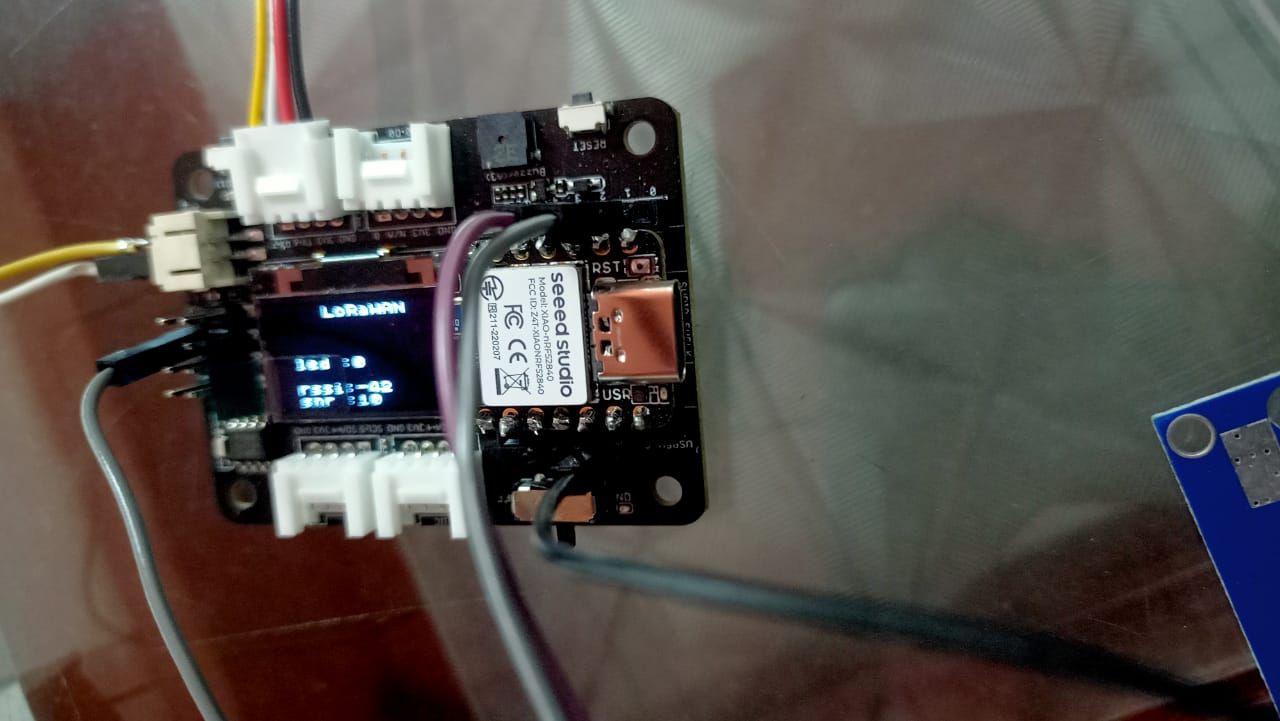
                          Data getting in console after integration of both lora and gps.
                          3f45cfe7-0061-4328-8c55-ef0a73385203-image.png
                          here you can see that GPS value is 0,0. also in my previous post you can see that GPS value is not reading.
                          Also the status LED is active after it is connected to the satellite.

                          • read more
                        • Hi @zainmuhammed ,

                          Can you share the GPS and LoRa output when it’s working?

                          Also can try capturing the GPS when the device is starting the loop instead after joining the LoRaWAN and see?

                          Also make sure the device provides have enough to modules. The GPS need more power when you cold start.

                          • read more
                        • @zainmuhammed
                          this is the code

                          #include <Arduino.h> #include <U8x8lib.h> #include <TinyGPS++.h> #include <SoftwareSerial.h> static const int RXPin = 1, TXPin = 2; static const uint32_t GPSBaud = 9600; // The TinyGPS++ object TinyGPSPlus gps; // The serial connection to the GPS device SoftwareSerial ss(RXPin, TXPin); U8X8_SSD1306_128X64_NONAME_HW_I2C u8x8(/*reset=*/U8X8_PIN_NONE); // U8X8_SSD1306_128X64_NONAME_SW_I2C u8x8(/*clock=*/ SCL, /*data=*/ SDA, /*reset=*/ U8X8_PIN_NONE); // OLEDs without Reset of the Display static char recv_buf[512]; static bool is_exist = false; static bool is_join = false; static int led = 0; static int at_send_check_response(char *p_ack, int timeout_ms, char *p_cmd, ...) { int ch; int num = 0; int index = 0; int startMillis = 0; va_list args; char cmd_buffer[256]; // Adjust the buffer size as needed memset(recv_buf, 0, sizeof(recv_buf)); va_start(args, p_cmd); vsprintf(cmd_buffer, p_cmd, args); // Format the command string Serial1.print(cmd_buffer); Serial.print(cmd_buffer); va_end(args); delay(200); startMillis = millis(); if (p_ack == NULL) { return 0; } do { while (Serial1.available() > 0) { ch = Serial1.read(); recv_buf[index++] = ch; Serial.print((char)ch); delay(2); } if (strstr(recv_buf, p_ack) != NULL) { return 1; } } while (millis() - startMillis < timeout_ms); return 0; } static void recv_prase(char *p_msg) { if (p_msg == NULL) { return; } char *p_start = NULL; int data = 0; int rssi = 0; int snr = 0; p_start = strstr(p_msg, "RX"); if (p_start && (1 == sscanf(p_start, "RX: \"%d\"\r\n", &data))) { Serial.println(data); u8x8.setCursor(2, 4); u8x8.print("led :"); led = !!data; u8x8.print(led); if (led) { digitalWrite(LED_BUILTIN, LOW); } else { digitalWrite(LED_BUILTIN, HIGH); } } p_start = strstr(p_msg, "RSSI"); if (p_start && (1 == sscanf(p_start, "RSSI %d,", &rssi))) { u8x8.setCursor(0, 6); u8x8.print(" "); u8x8.setCursor(2, 6); u8x8.print("rssi:"); u8x8.print(rssi); } p_start = strstr(p_msg, "SNR"); if (p_start && (1 == sscanf(p_start, "SNR %d", &snr))) { u8x8.setCursor(0, 7); u8x8.print(" "); u8x8.setCursor(2, 7); u8x8.print("snr :"); u8x8.print(snr); } } void setup(void) { u8x8.begin(); u8x8.setFlipMode(1); u8x8.setFont(u8x8_font_chroma48medium8_r); ss.begin(GPSBaud); Serial.begin(GPSBaud); pinMode(LED_BUILTIN, OUTPUT); digitalWrite(LED_BUILTIN, HIGH); Serial1.begin(9600); Serial.print("E5 LORAWAN TEST\r\n"); u8x8.setCursor(0, 0); if (at_send_check_response("+AT: OK", 100, "AT\r\n")) { is_exist = true; at_send_check_response("+ID: DevEui", 1000, "AT+ID=DevEui,\"xxxxx\"\r\n"); // replace 'xxxxxxxxxxxxx' with your DevEui at_send_check_response("+ID: AppEui", 1000, "AT+ID=AppEui,\"xxxxxxx\"\r\n"); // replace 'xxxxxxxxxxxxx' with your AppEui at_send_check_response("+KEY: APPKEY", 1000, "AT+KEY=APPKEY,\"xxxxxxxxx\"\r\n"); // replace 'xxxxxxxxxxxxx' with your AppKey at_send_check_response("+ID: DevAddr", 1000, "AT+ID=DevAddr\r\n"); at_send_check_response("+ID: AppEui", 1000, "AT+ID\r\n"); at_send_check_response("+MODE: LWOTAA", 1000, "AT+MODE=LWOTAA\r\n"); at_send_check_response("+DR: IN865", 1000, "AT+DR=IN865\r\n"); // Change FREQ as per your location at_send_check_response("+CH: NUM", 1000, "AT+CH=NUM,0-2\r\n"); at_send_check_response("+CLASS: C", 1000, "AT+CLASS=A\r\n"); at_send_check_response("+PORT: 8", 1000, "AT+PORT=8\r\n"); delay(200); u8x8.setCursor(5, 0); u8x8.print("LoRaWAN"); is_join = true; } else { is_exist = false; Serial.print("No E5 module found.\r\n"); u8x8.setCursor(0, 1); u8x8.print("unfound E5 !"); } u8x8.setCursor(2, 4); u8x8.print("led :"); u8x8.print(led); } void loop(void) { if (is_exist) { int ret = 0; if (is_join) { ret = at_send_check_response("+JOIN: Network joined", 12000, "AT+JOIN\r\n"); if (ret) { is_join = false; } else { at_send_check_response("+ID: AppEui", 1000, "AT+ID\r\n"); Serial.print("JOIN failed!\r\n\r\n"); delay(5000); } } else { gps.encode(ss.read()); float a=gps.location.lat(); float b=gps.location.lng(); Serial.println(a); Serial.println(b); char cmd[128]; sprintf(cmd, "AT+CMSGHEX=\"%04X%04X\"\r\n", (float)a,(float)b); ret = at_send_check_response("Done", 5000, cmd); if (ret) { recv_prase(recv_buf); } else { Serial.print("Send failed!\r\n\r\n"); } delay(5000); } } else { delay(1000); } }

                          9135d5d3-6277-4c60-81df-a2acac65c93d-image.png

                          • read more
                        By MakerGram | A XiStart Initiative | Built with ♥ NodeBB
                        Copyright © 2023 MakerGram, All rights reserved.
                        Privacy Policy | Terms & Conditions | Disclaimer | Code of Conduct