How to use Raspberry pi4 without display and keyboard with a VNC viewer.
-
Raspberry Pi
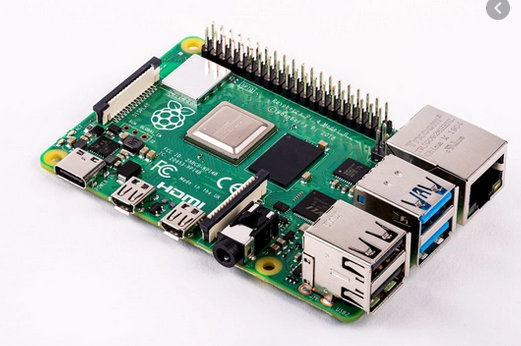
The Raspberry Pi is a series of small single-board computers developed in the United Kingdom by the Raspberry Pi Foundation to promote the teaching of basic computer science in schools and in developing countries. The original model became far more popular than anticipated, selling outside its target market for uses such as robotics. Usually, it does not include peripherals (such as keyboards and mouse ) or cases but they can be attached via the USB ports
Download the os image: https://www.raspberrypi.org/downloads/raspbian
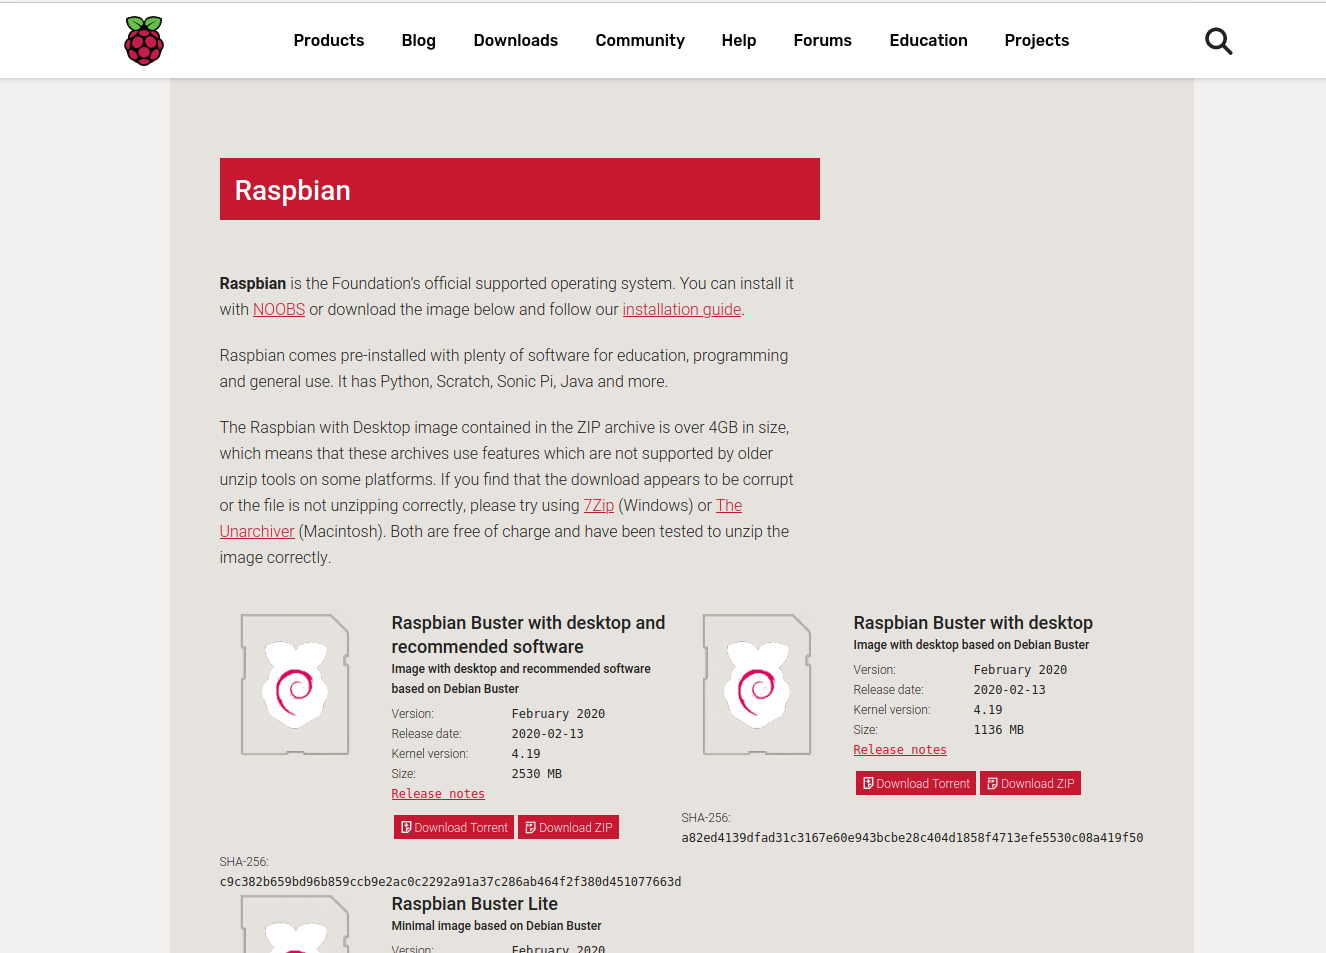
Then flashing the memory card for booting os (minimum 8 GB recommended, can use balenaEtcher)
After flashing open boot directory from the memory card- Create an empty file and rename it ssh (remove extensions if any)
- Create another empty file and rename it wpa_supplicant.conf
- Open wpa_supplicant.conf and copy the below code
country=US
ctrl_interface=DIR=/var/run/wpa_supplicant GROUP=netdev
update_config=1
network={
ssid="NETWORK-NAME"
psk="NETWORK-PASSWORD"
}
Replace “NETWORK-NAME” with your network name and
“NETWORK-PASSWORD” with the password of your networkFind the IP of raspberry-pi (Rpi)
You can install the Fing app in your smartphone and connect it to the same network as Rpi.
Then find the IP of Rpi.Install PuTTY SSH client
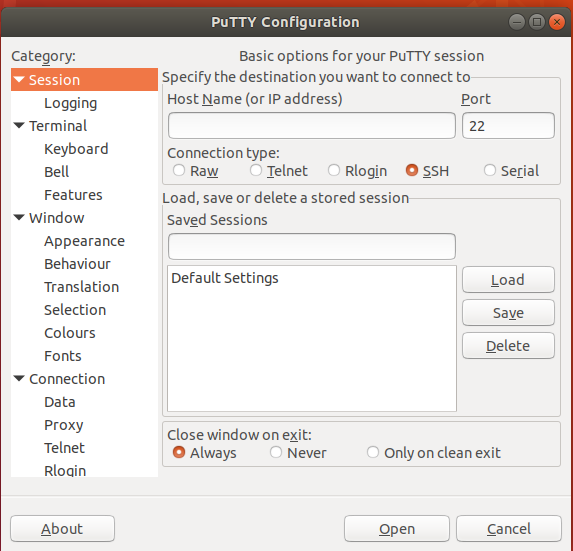
- Type the IP of Rpi in the Host Name.
- Then click open. Then a terminal opens asking your username and password. By default, the username will be pi and password raspberry.
- Type sudo raspi-config.
- In the window that appears activate VNC by moving the arrow key.
Now to use VNC viewer
Download it from:https://www.realvnc.com/en/connect/download/viewer- Install VNC viewer
- Enter the IP of pi in the window that opens.
- Enter the username and password.
If the display is not available
Type sudo raspi-config
Go to advance settings.
Adjust resolution by selecting the appropriate one. -
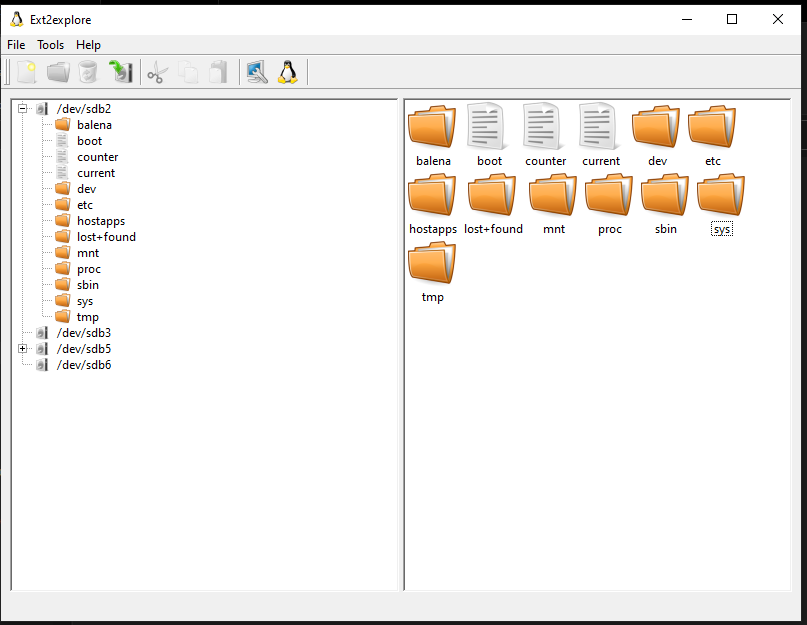
Thanks for the tip @Abhay. keep in mind, after flashing the OS to the SD card, it will not open the window machine because Windows is only able to manage only its own partitions (fat16, fat32, ntfs, exfat).
so you need to software that can read Linux ext format for you, I used Ext2Read, and it does the job.
-
@salmanfaris Thanks for reminding about windows machine partitions and insight about using Ext2Read.
For Linux users, can skip the process of installing PuTTy SSH Client since SSH client are installed in Linux by default.
Open terminal and type: **- ssh pi@ipaddress //Replace ipaddress with IP address of your pi.
then enter the username (by default: pi)
password (by default: raspberry)
Download and install deb package for VNC viewer.
- ssh pi@ipaddress //Replace ipaddress with IP address of your pi.
-
@Abhay and @salmanfaris . This post is a life saviour to many of us. I use to face lot of issues for the headless setup of Raspberry pi. I finally fail with headless setup and use to borrow a screen from my friends and set it up. Seems like this post will help me out for sure.
Thanks again for the post @Abhay.

-
@kowshik1729
We couldn't find monitor during a hackathon and it cost the majority of our time to set up pi, this was the alternative that saved us back then.Hope it will be helpful for you to @kowshik1729
Recent Posts
-

Hi @borncurious , For the industrial purpose you can go with Raspberry Pi compute modules, Take a look at the latest version CM4 - https://www.raspberrypi.com/products/compute-module-4/ , Which is designed for industrial usage and incorporates a quad-core ARM Cortex-A72 processor, dual video output, and a wide selection of other interfaces. Available in 32 variants, with a range of RAM and eMMC Flash options, and with or without wireless connectivity.
Other options are, boards like RockPi and Orange Pi boards which are similar to Raspberry similar model and specs but the price is a bit lower than the raspberry pi. Make sure to check the Interface and driver support that you need to incorporate into your project since these boards are not documented and maintained like the official raspberry pi as far as I know.
also, you can check Toradex System on Module.
-
-

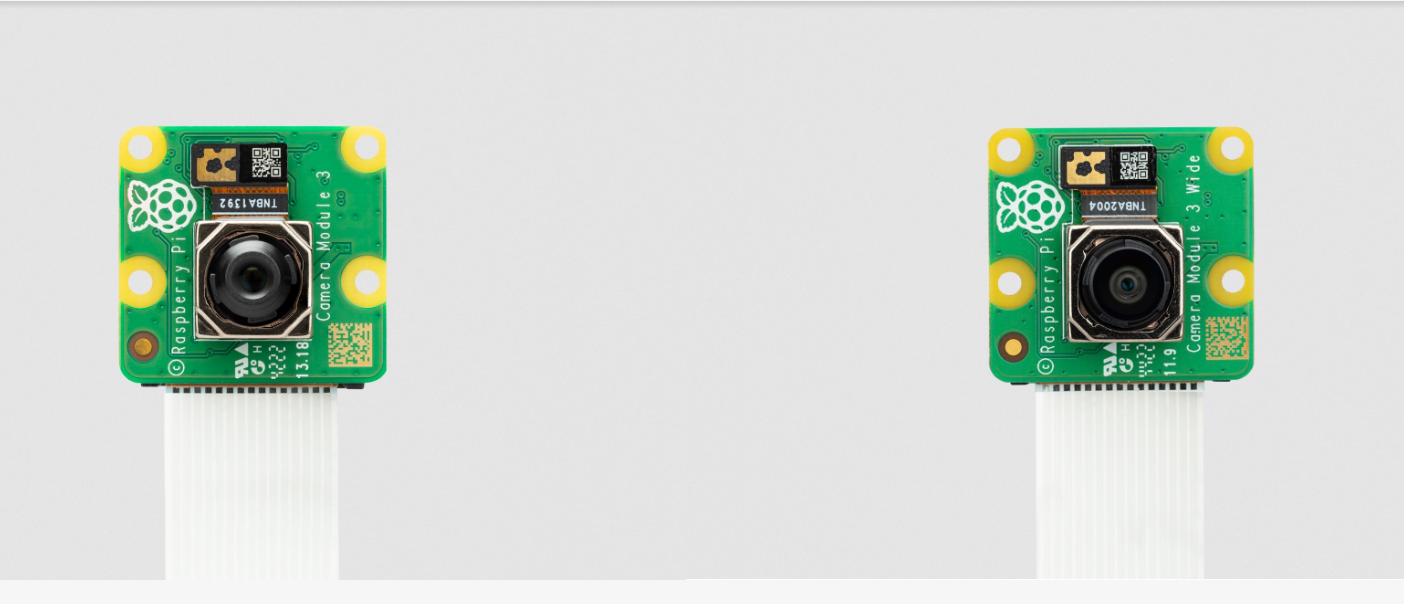
The classic compact camera for Raspberry Pi with a 12MP sensor and autofocusAvailable from $25 with your choice of standard and wide lenses, with or without an infrared filter
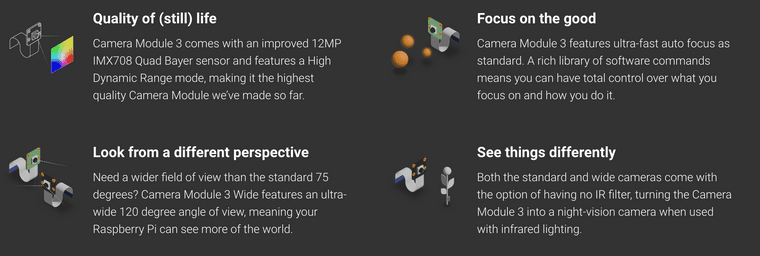
More details: https://www.raspberrypi.com/products/camera-module-3/
Resource:
Documentation: https://www.raspberrypi.com/documentation/accessories/camera.html
Camera Software: https://www.raspberrypi.com/documentation/computers/camera_software.html -

Hey @rafitc99 ,
Did your issue resolve? Curious to know