Getting Started with Azure Sphere MT620
TLDR; This blog post will explain how to setup and run a Hello-World program in Microsoft Azure Sphere MT620 for first time . If you already did the setup then skip the whole post .
Prerequisites:
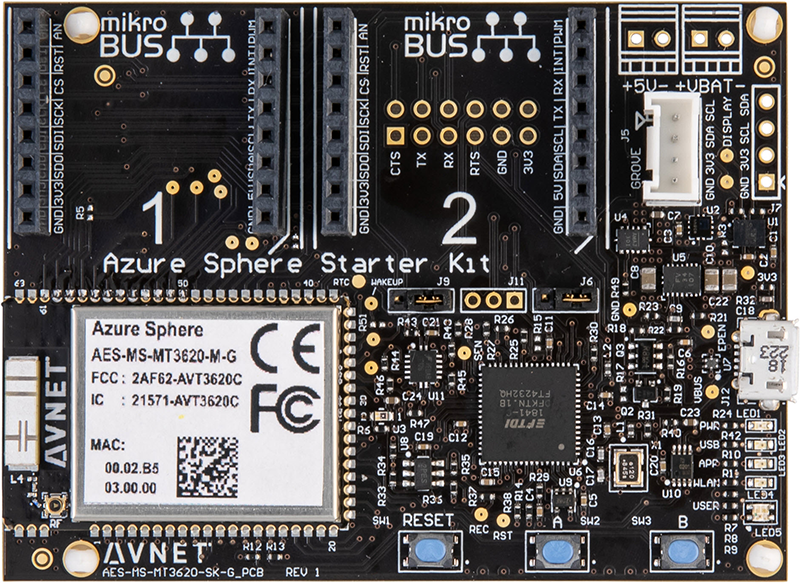
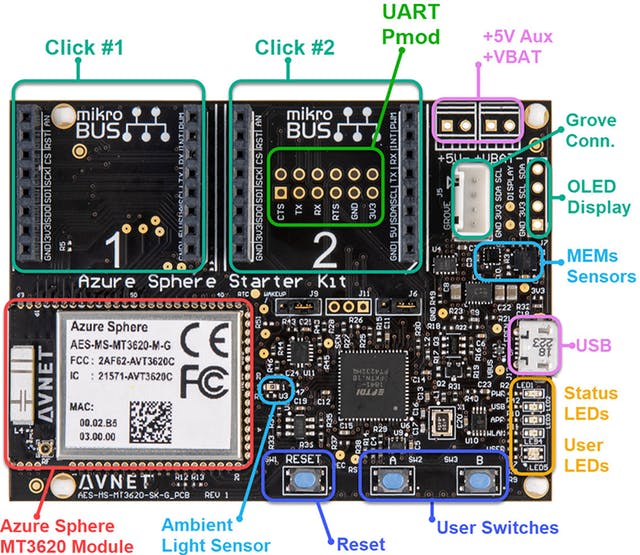
=> An Azure Sphere Development Kit
=> A PC running Windows 10 Anniversary Update or later
=> Visual Studio 2019 Enterprise, Professional, or Community version 16.04 or later; or Visual Studio 2017 version 15.9 or later.
What is Azure Sphere?
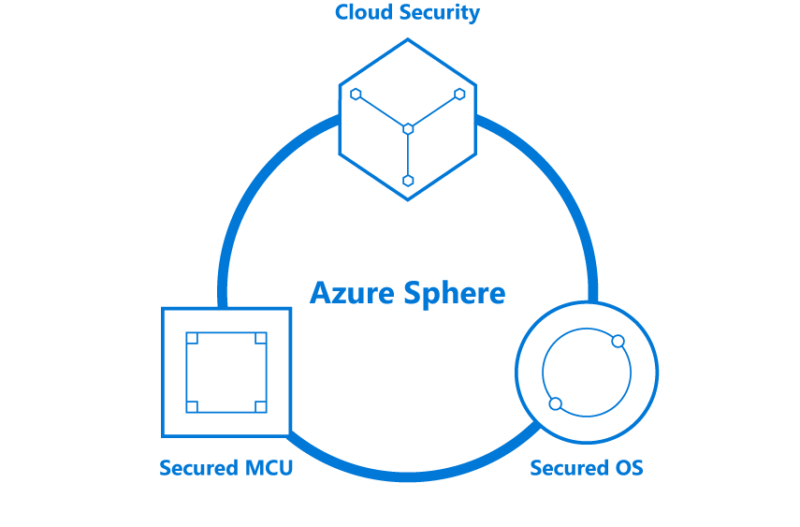
Azure Sphere is a secured, high-level application platform with built-in communication and security features for internet-connected devices. It comprises a secured, connected, crossover microcontroller unit (MCU), a custom high-level Linux-based operating system (OS), and a cloud-based security service that provides continuous, renewable security. (source : Microsoft)
OK , we start work now , follow setups and if you stuck any where use our MakerGram forum for discussion .
Step 1: Downloading and Installing Required tools
We need to install and setup the development environment for azure sphere , follow the below steps .
- Install Visual Studio (Community , Professional , Enterprises Edition )
- Install FTDI Driver for your Computer
- Download and Install the Azure Sphere SDK Preview for Visual Studio from Visual Studio Marketplace
Step 2: Setup Azure Active Directory for Azure Sphere
Azure Sphere uses Azure Active Directory (AAD) to enforce enterprise access control , so next we need to create a Azure Active Directory User account .
- Login to Microsoft Azure
- On the left side select Azure Active Directory -> Users -> New User

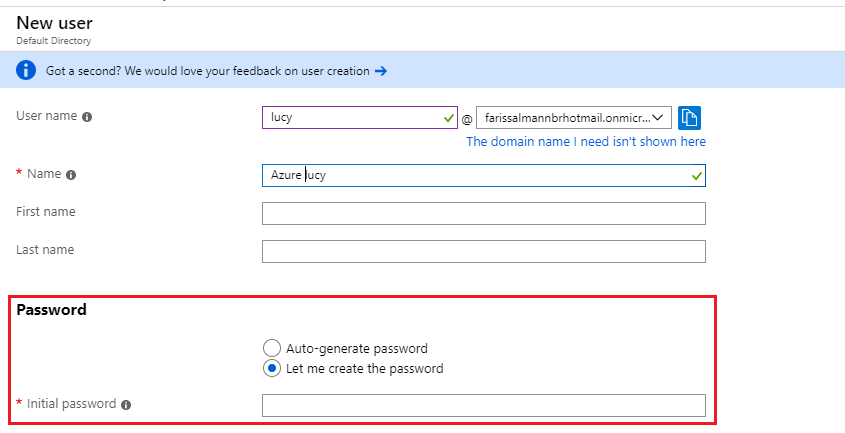
3. Select Create User and enter a User name and Name
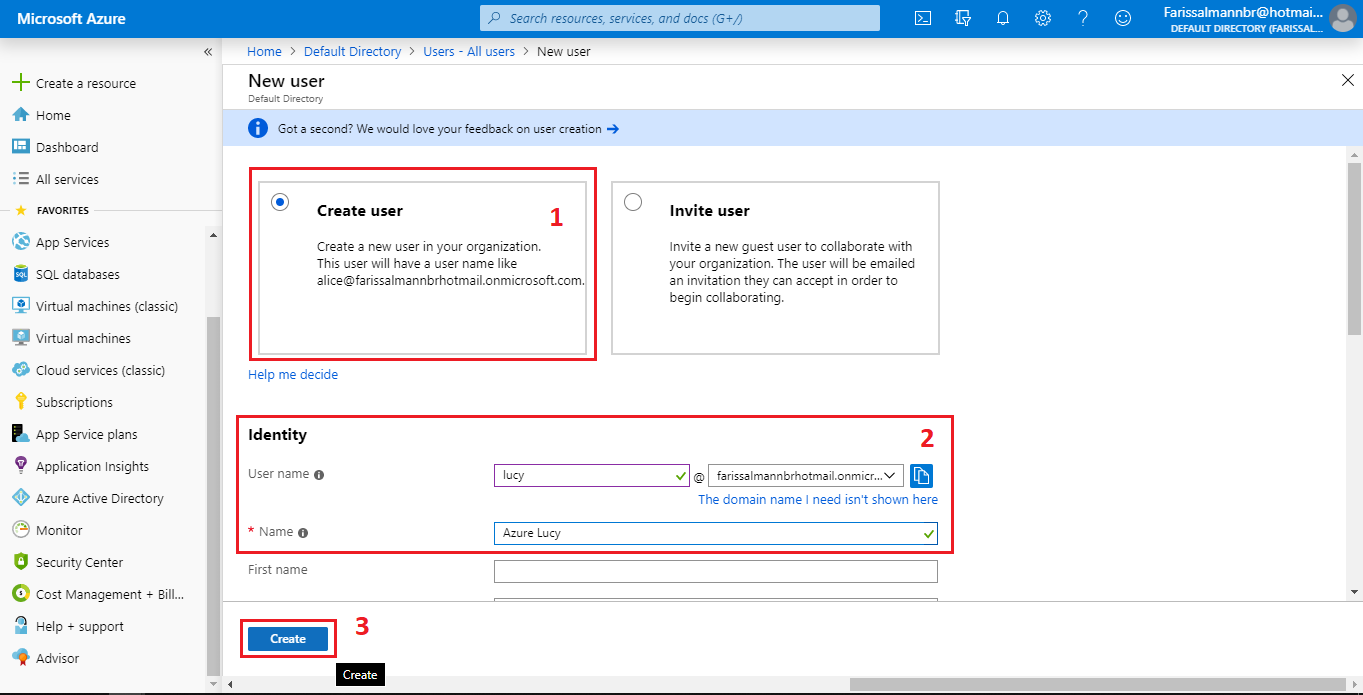
To complete the user creation set a password for the account the Click Create
Now you created new user under the Azure Active Directory
Step 2: Setup and Activate Azure Sphere Hardware
Next we need to setup the Sphere Hardware by connecting with Internet .
- Connect the Sphere with computer using micro-USB cable
- Open Azure Sphere Developer Command Prompt Preview (Click here to download )
- First we need to create profile for the device to create a profile type the following command , where Lucy is the profile name .
azsphere tenant create -n Lucy
following the command a new Microsoft login window will appear
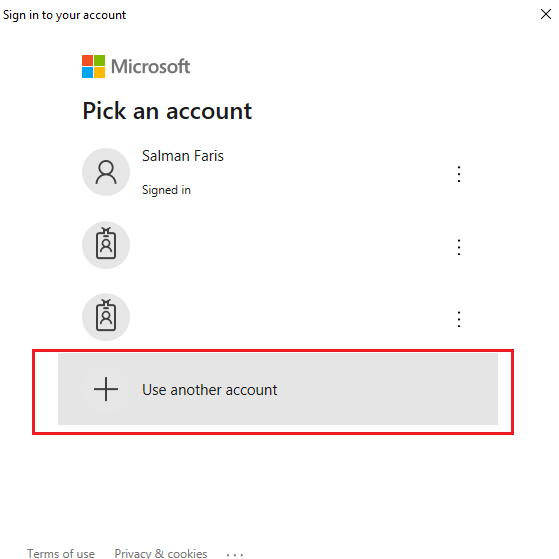
4. Select the User another account and login with the AAD user credentials that we created in the Azure Portal. To continue you need to gave the permission for the Azure Sphere .
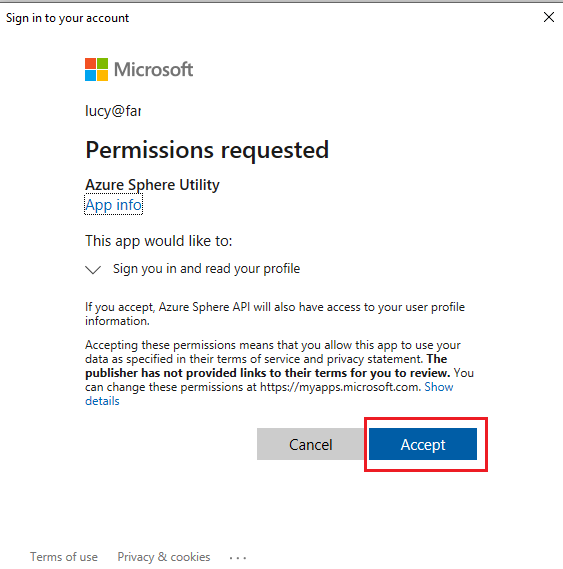
5. After that Azure Sphere Developer Command Prompt will create a tenant account for you (make sure you have a active internet connection )

6. Next you need to claim the device with your AAD user account (Note : Claiming is a one-time operation that you cannot undo even if the device is sold or transferred to another person or organization. A device can be claimed only once. Once claimed, the device is permanently associated with the Azure Sphere tenant.)
to claim type the following command
azsphere device claim

7. Update the Sphere OS , you need make sure that , the device is running latest azure sphere os , to update OS type the command on the Azure Sphere Developer Command Prompt (make sure you have a active internet connection )
azsphere device show-ota-status

if anything goes wrong during the update , don't panic we can simply recover it by using this command
azsphere device recover
we successfully Setup and Activated Azure Sphere Hardware
Step 3: Setup WiFi and Connecting to Internet
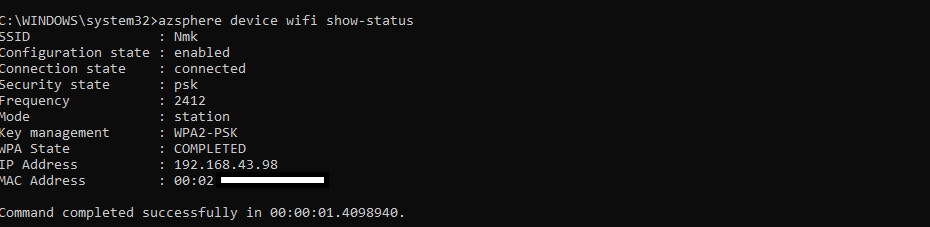
Next we need to setup the wifi in the azure sphere and connect to the internet . first we need to check the current wifi status , it can be done by typing
azsphere device wifi show-status
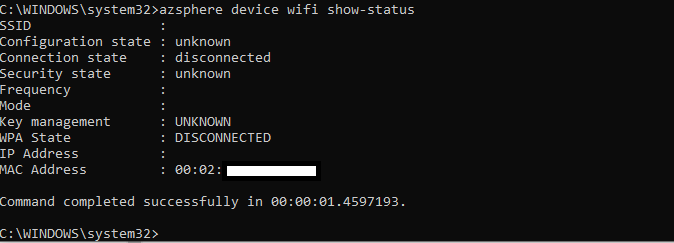
This means we have a working wifi modem and MAC address , next we need to connect to our WiFi Access point
azsphere device wifi add --ssid 'ssid name' --key 'password'

here my wifi ssid is Nmk and Password is 1234567890
after that check the wifi status agin by running wifi status command
azsphere device wifi show-status
yes , we successfully configured wifi and established a network .
Step 4: Compile and Run Simple Hello World Program a.k.a Blink test
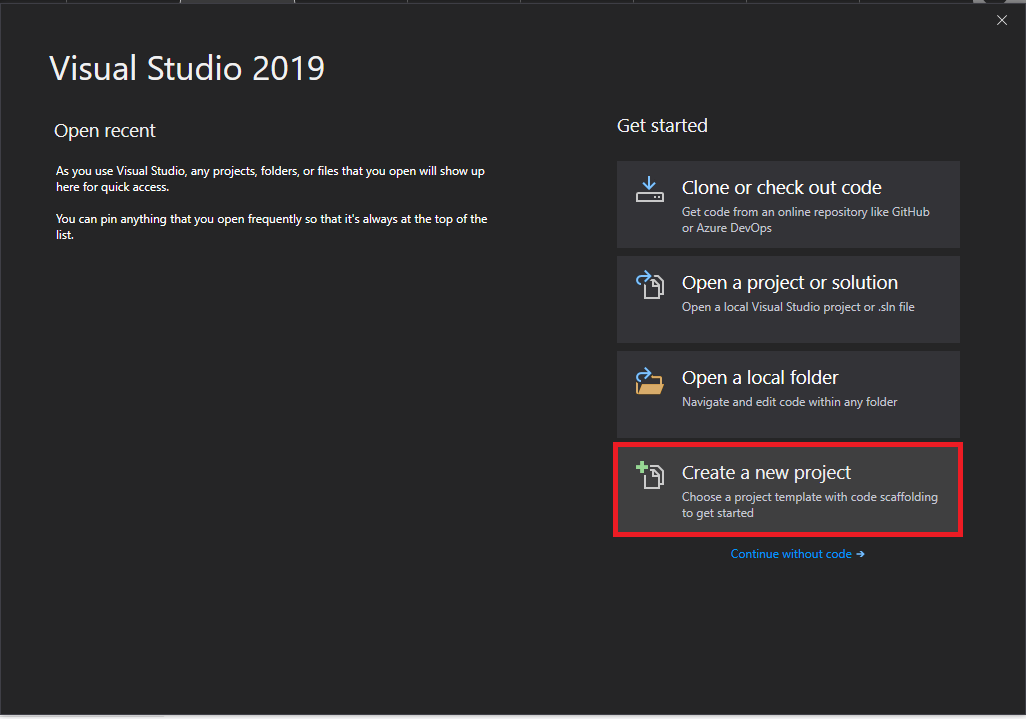
- Open Visual Studio and Click Create a new Project .
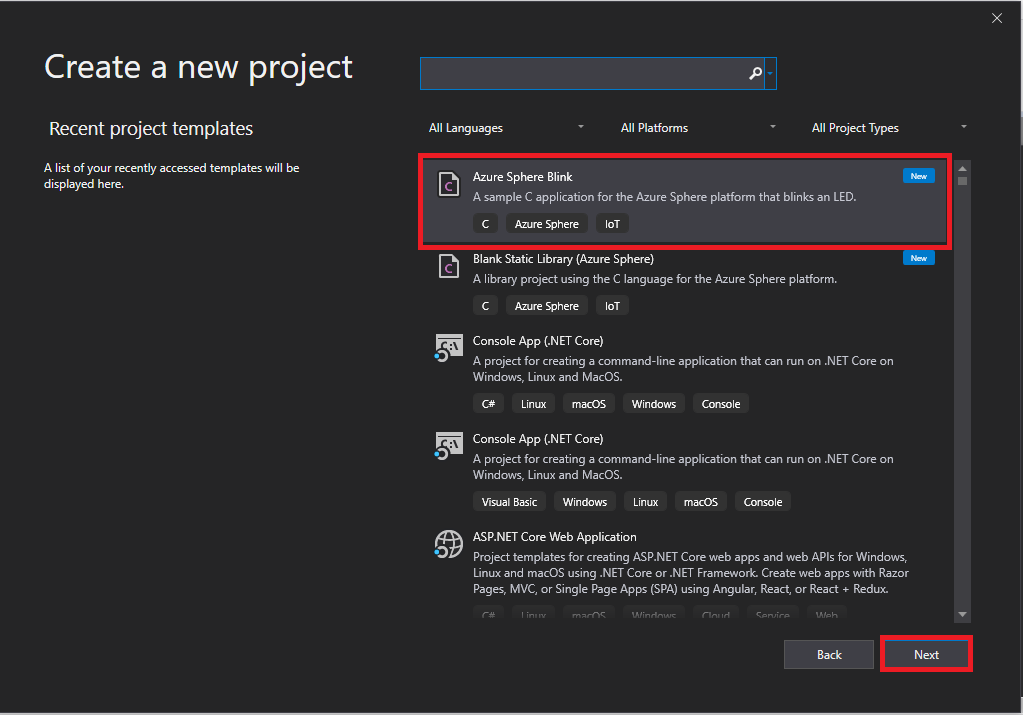
2. From the following window Select Azure Sphere Blink project then click Next to continue .
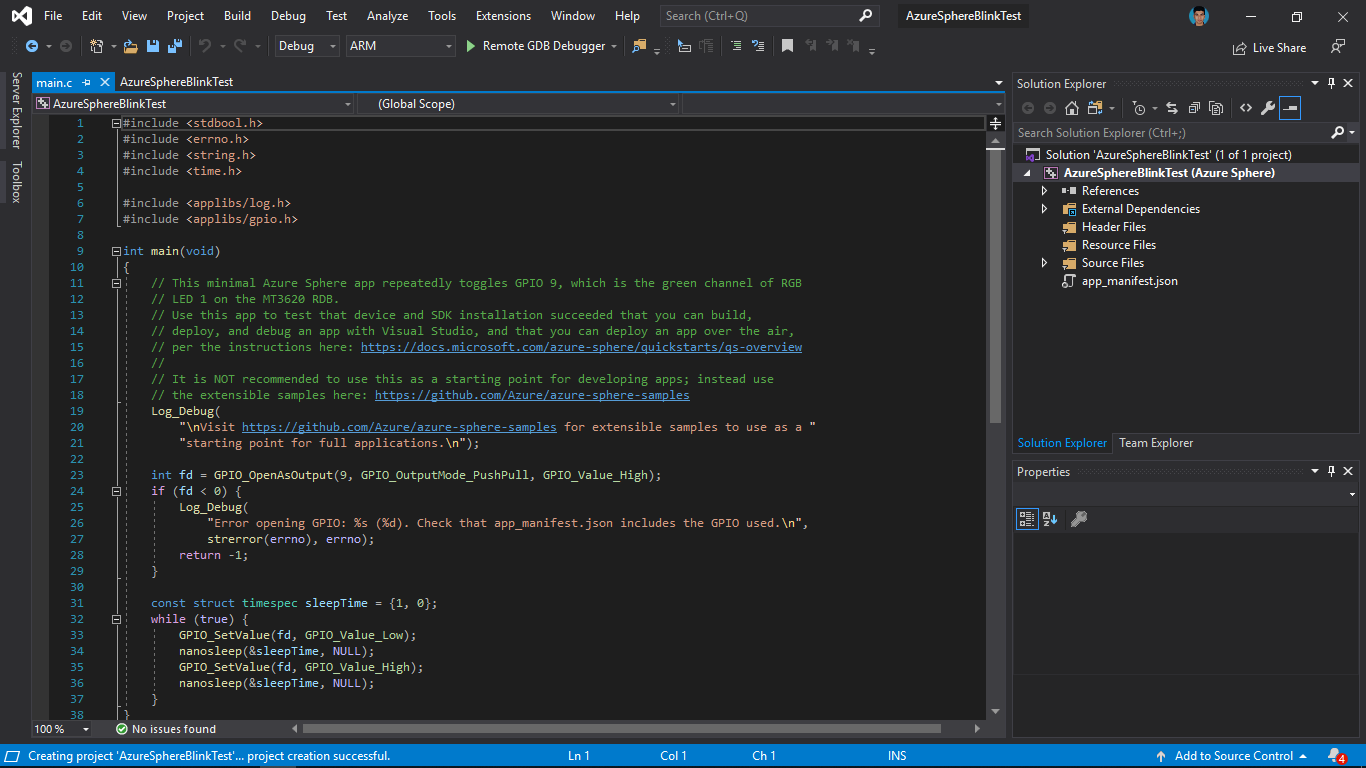
3. Wait until the program complete the loading (it may take one or minute if it's first time starting the Visual Studio ) , then you can see the power full Visual Studio with the Blink Sample code .
4. Next we need to prepare the Azure Sphere for development and debugging. By default, Azure Sphere devices are "locked"; that is, they do not allow applications under development to be loaded from a PC, and they do not allow debugging of applications. Preparing the device for debugging removes this restriction.
Type the following command to unlock the Azure Sphere
azsphere device prep-debug
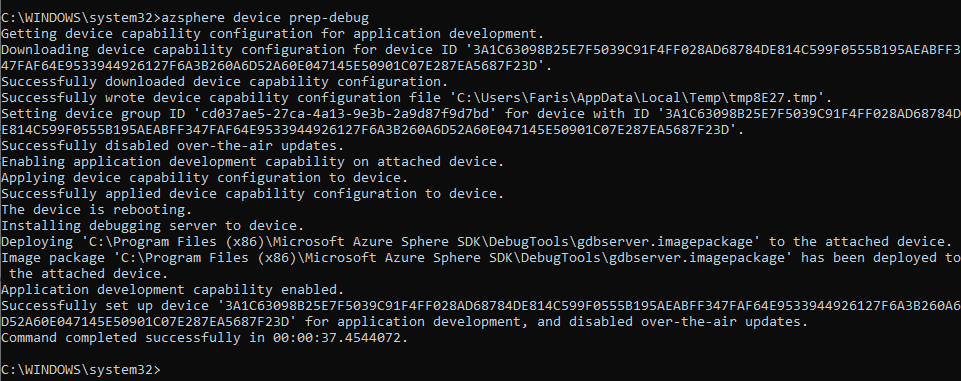
now we successfully unlocked the Azure Sphere and it's ready for development and debugging.
5. Make sure that you selected Targeted device is ARM

and click Remote GDB Debugger to side load the program
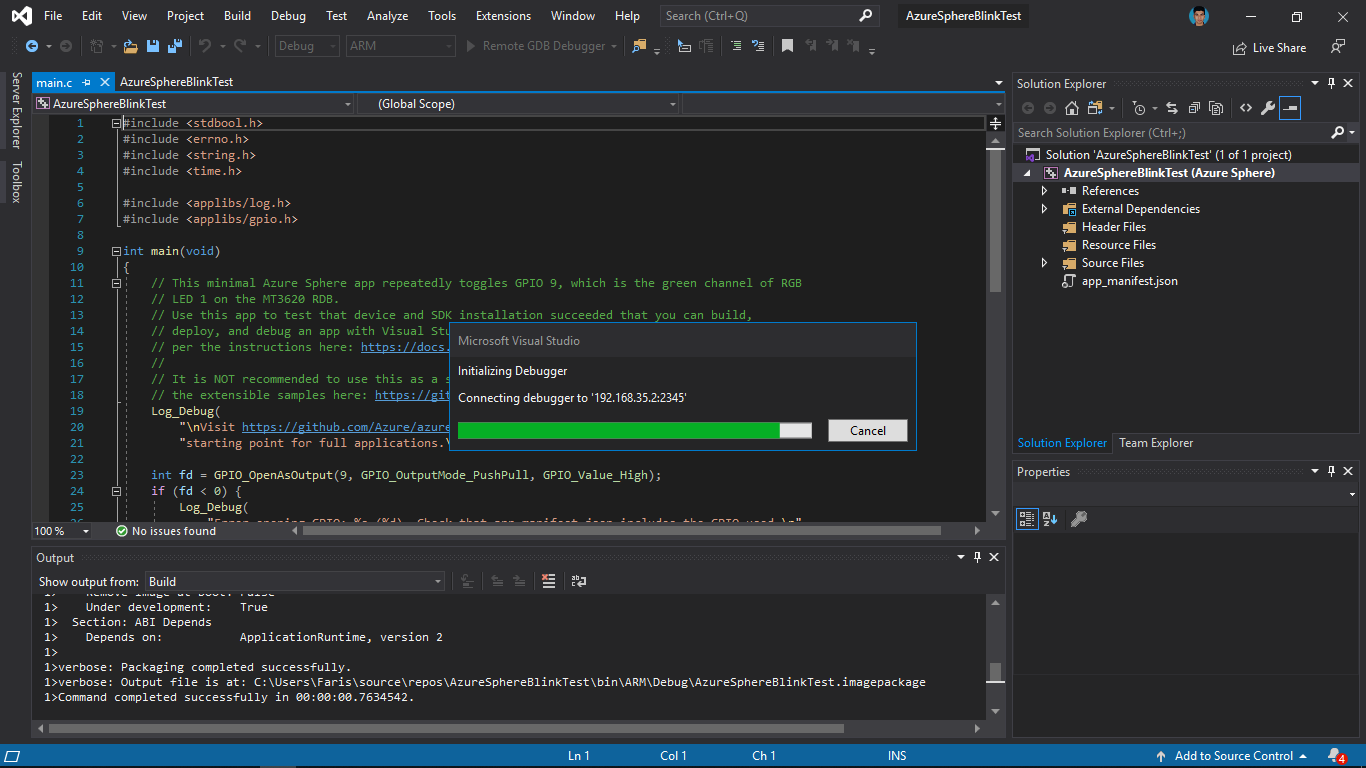
6. Check you'r Azure Sphere , it is blinking right ? Yeahh , we successfully Run the first program .
Happy Making !
note : If face any issues while setting up the Azure Sphere please post it on MakerGram forum .